![]() Rough Sketches
Rough Sketches
Here, we’ll give you some pointers on how to choose your tools as well as some basic illustration techniques.
Choosing Comic Paper
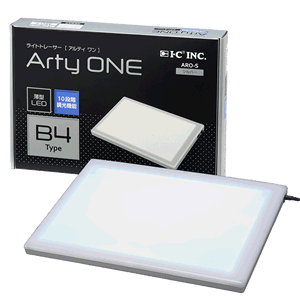
You can draw your sketch onto the comic paper directly, but if you plan to ink the sketch using a light table (trace over the sketch), you use photocopy paper or a similar type that is the same size as the comic paper.
Choose paper that matches your needs and the pressure you apply when drawing.
| For Professionals magazine submissions |
For Doujinshi | |
|---|---|---|
| Drawing pressure: Normal to high |
B4 110Kg | A4 110Kg |
| Drawing pressure: Low to normal |
B4 135Kg | A4 135Kg |
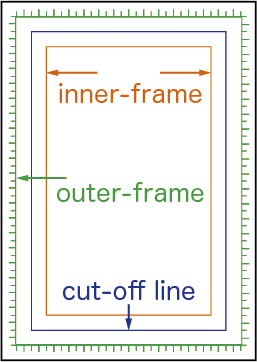
Comic paper features several lines.
- inner-frame
These basic lines denote the area for important illustrations (such as characters’ faces) and lines.
- cut-off line
When it is made into a book, the pages will be cut away at these lines.
- outer-frame
These are the outermost lines, and they often contain tick marks.
If you want the illustration to extend to the edges of the page, draw up to the outer frame so that there are no blank spaces left over when cutting at the cut-off lines.
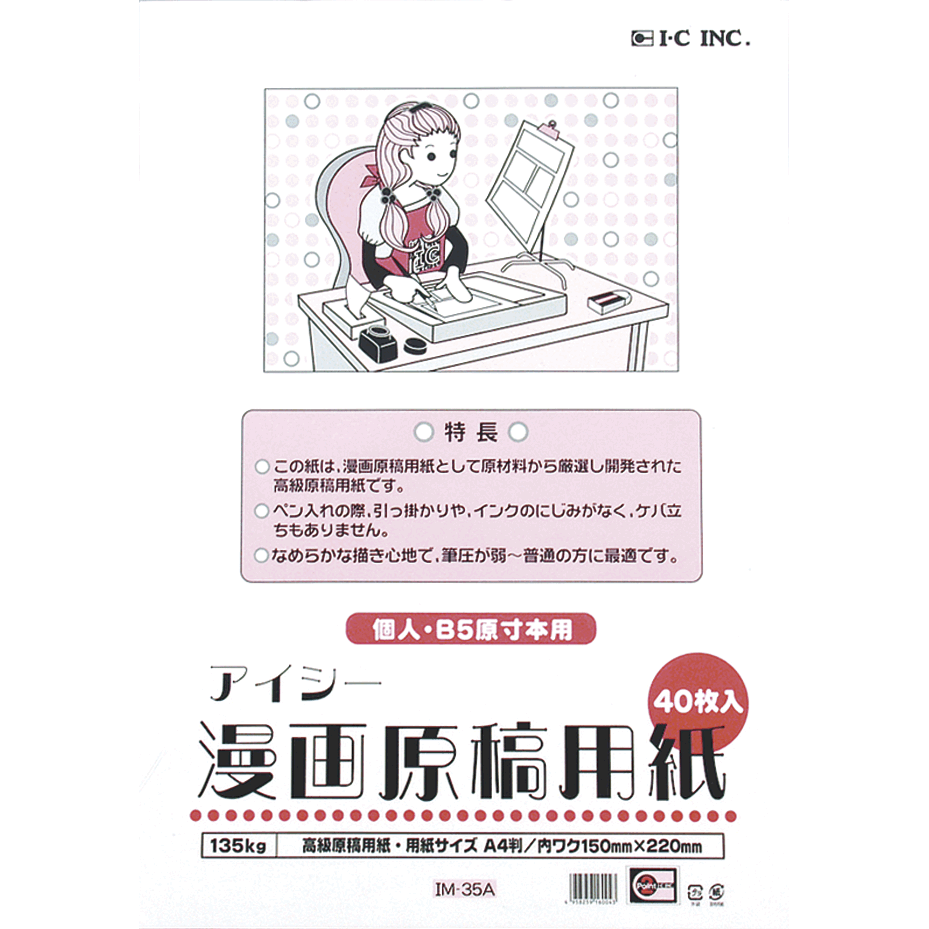
Manga Paper
This paper comes with the basic lines already printed to make drawing your manga easier. It comes in various sizes and thicknesses to suit your needs
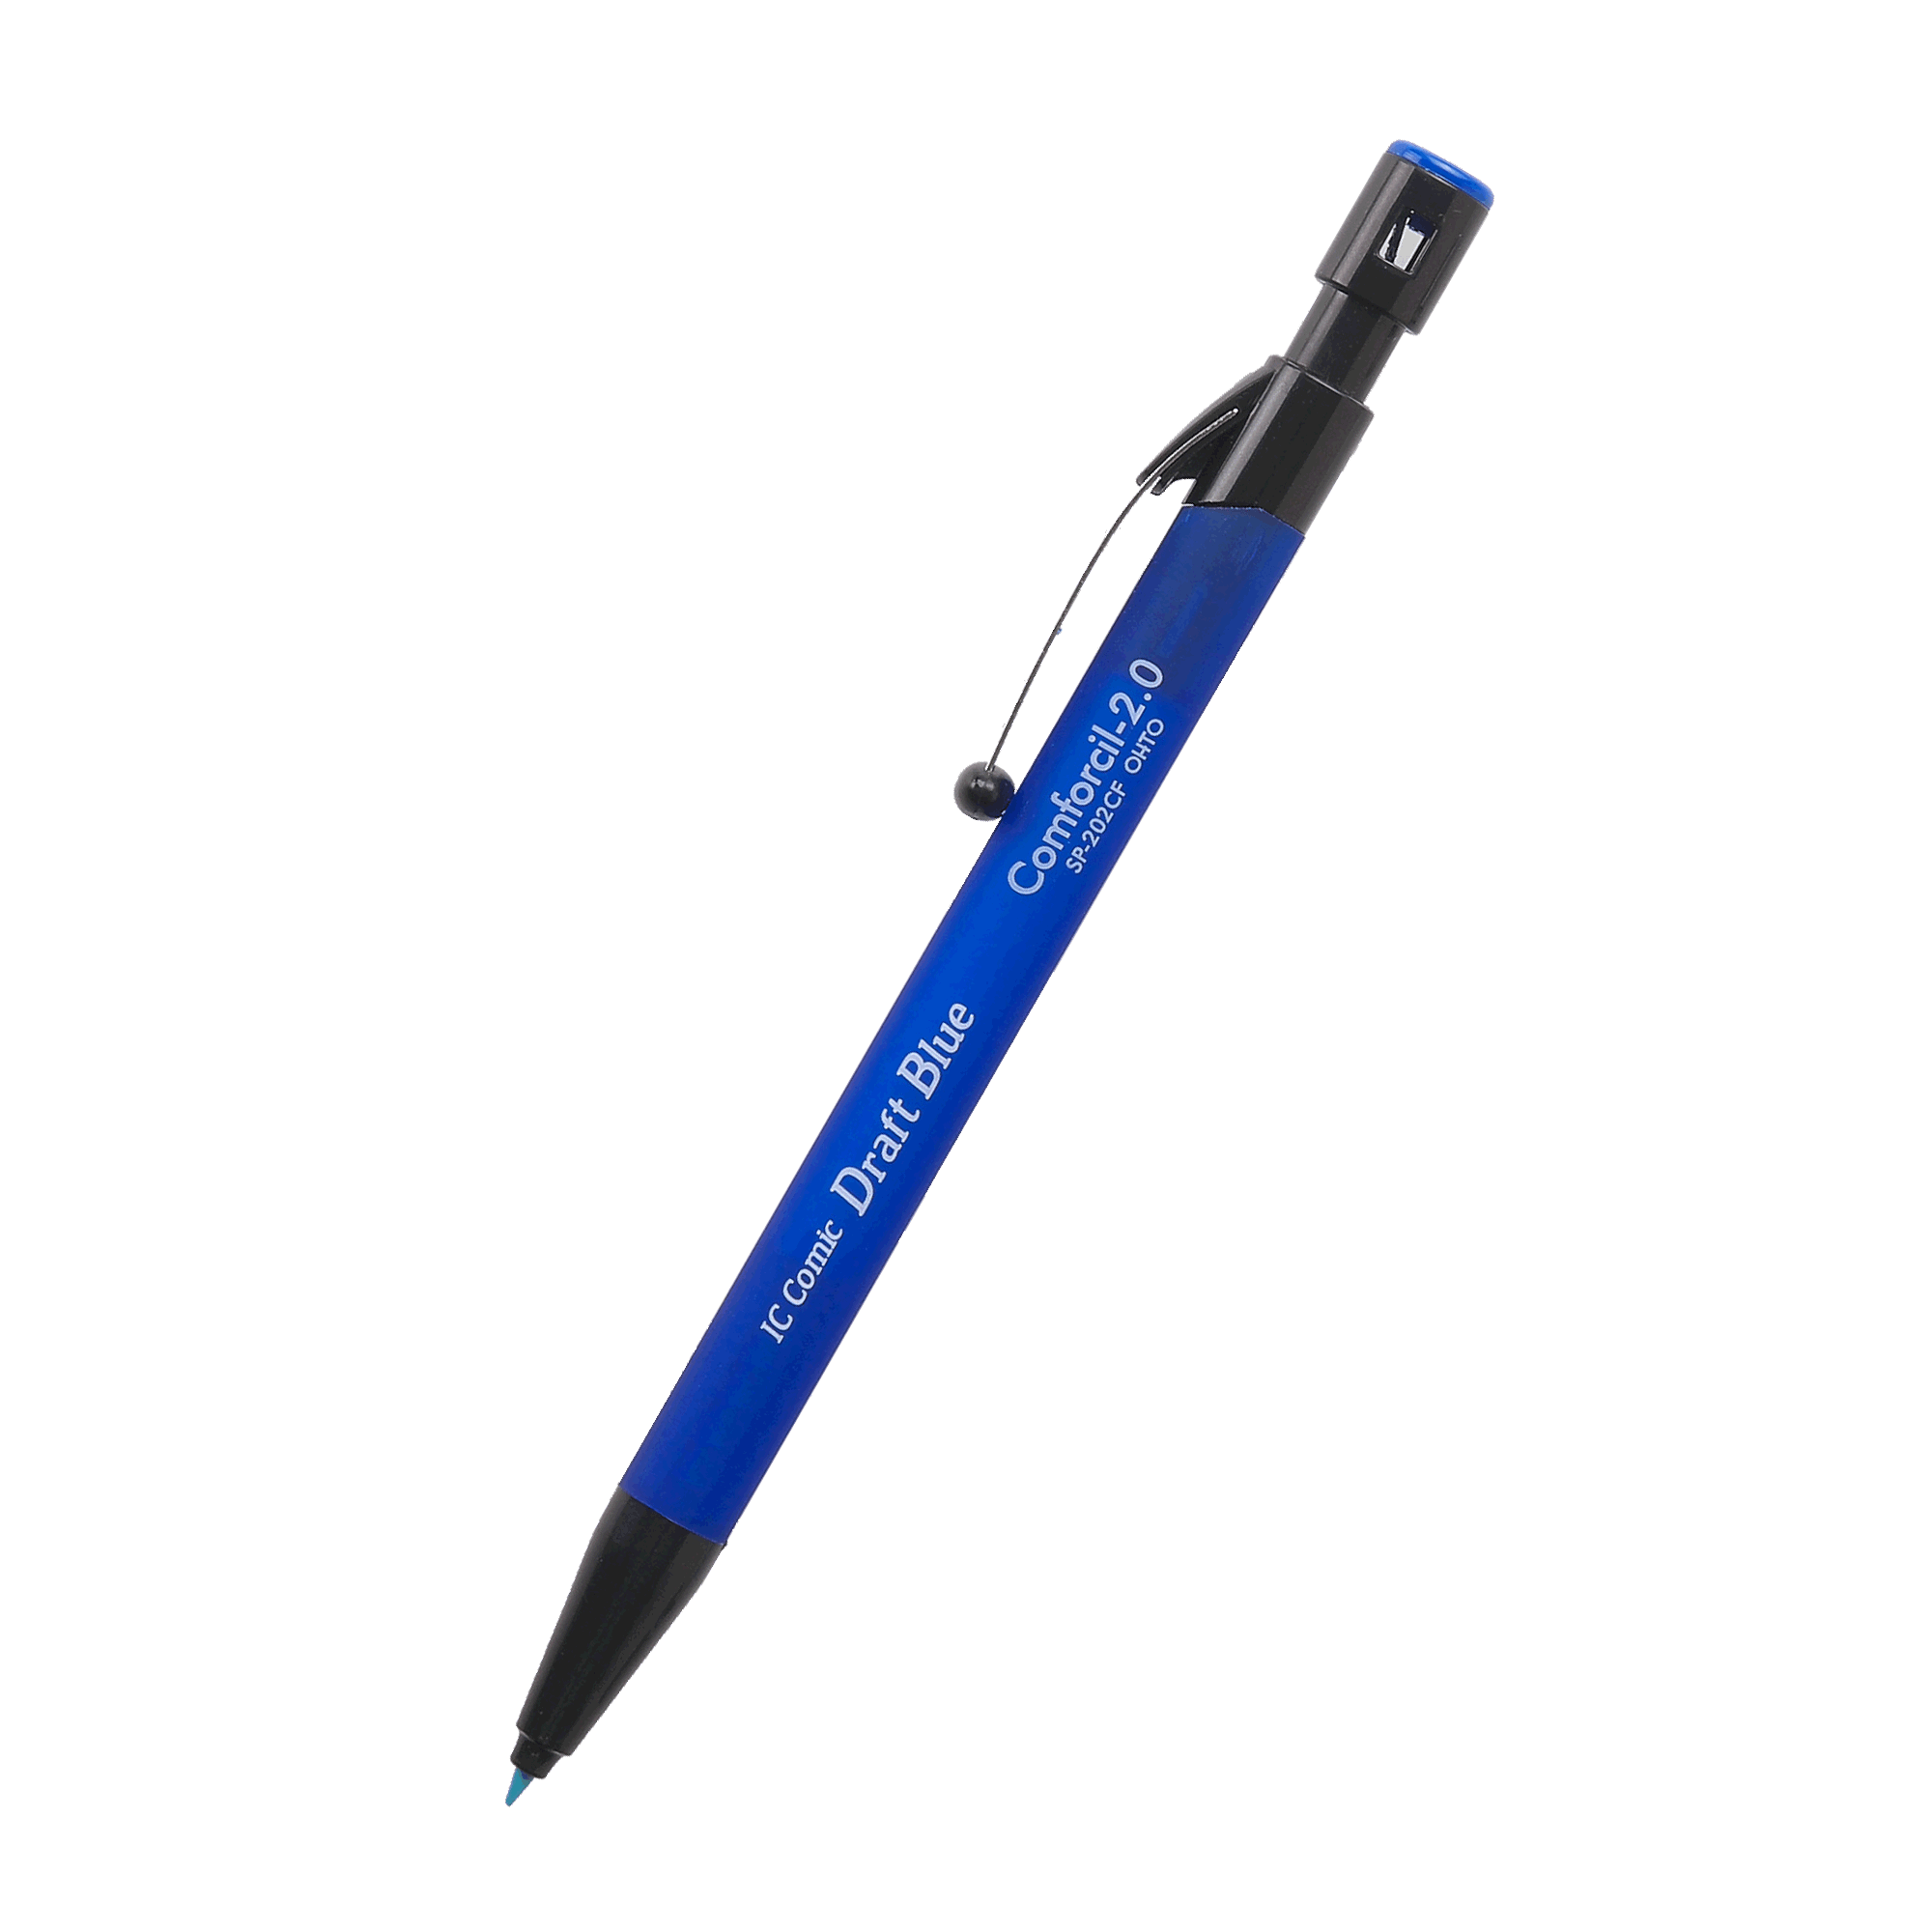
Drawing Characters
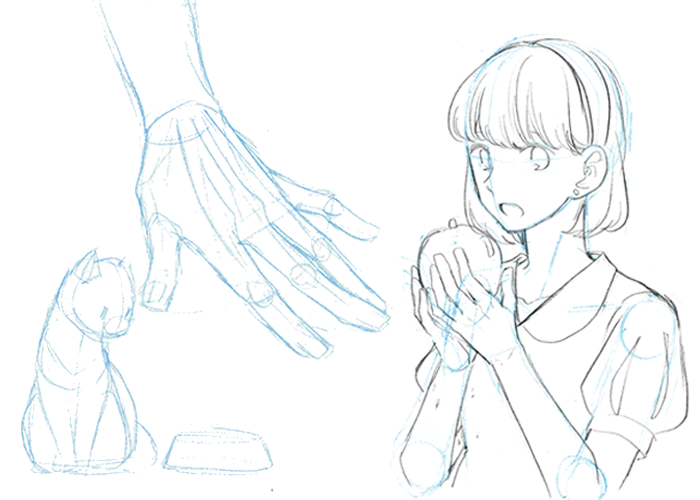
When it comes to maintaining balance of a character’s face and body, deciding the “atari” (the rough location) can help keep everything consistent.
Blue and yellow lines are not noticeable when printing, so they’re useful for setting the atari in your sketches.
For face orientations and complex poses that you’re not good at drawing, practice while using drawing dolls or photos as a reference.
Also, inverting your illustration allows you to check at a glance whether the balance is being maintained.
You can turn over your paper and use a light table or such to make the illustration transparent.
Drawing Backgrounds
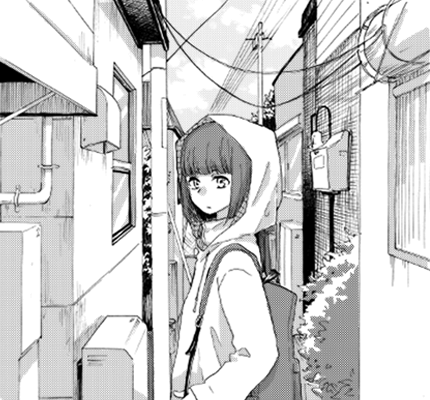
Perspective drawing is used when creating backgrounds.
If you extend all the background lines, they will intersect at a certain point. This is called the “vanishing point.”
The width and height decrease as they approach the vanishing point, which gives the illustration a sense of depth.
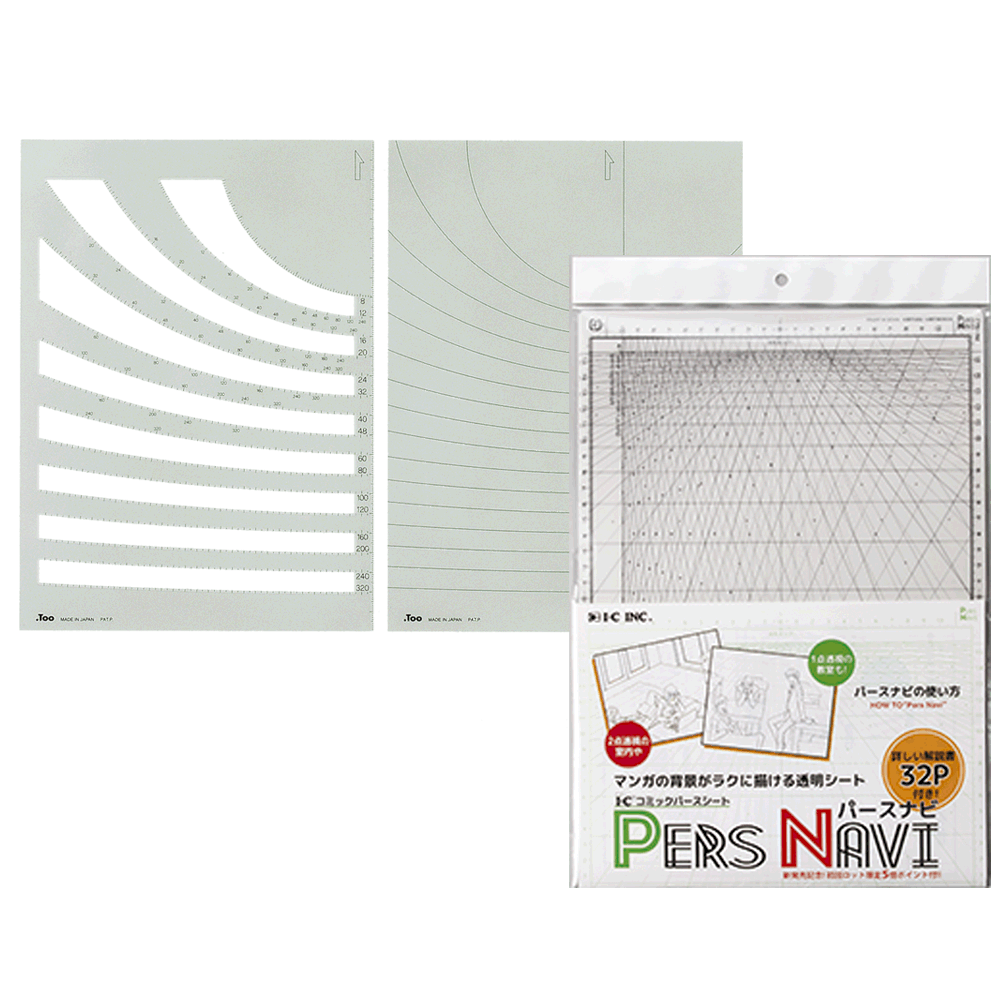
Perspective Rulers and Sheets
These tools make it easier to draw backgrounds and distant views with multiple vanishing points. Once you learn how to use them, you might not be able to do without them...
Creating Depth Through Perspective Drawing
Vanishing points are located on the horizon.
The height of the reader’s viewpoint is equivalent to the horizon; this is also referred to as “eye level.”
To make it easy to understand, the height of the character’s eyes is the same as that of the reader in the following examples.If the character is taller than the reader, draw the character’s eyes above eye level, and if shorter, draw them below eye level.
Keeping this in mind makes it easier to place characters naturally against backgrounds.
1. One-point Perspective
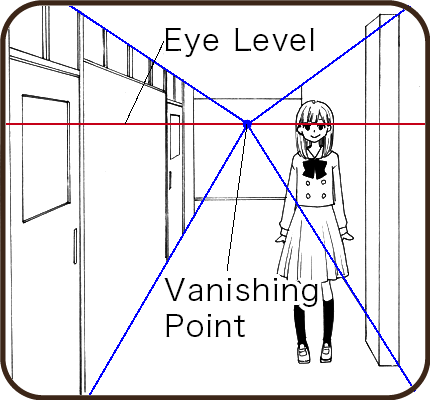
Conveying Depth
This drawing method is often used for illustration layouts viewed from the front.
Extending the lines pointed toward the back of the illustration causes them to intersect. This is the vanishing point.
2. Two-point Perspective
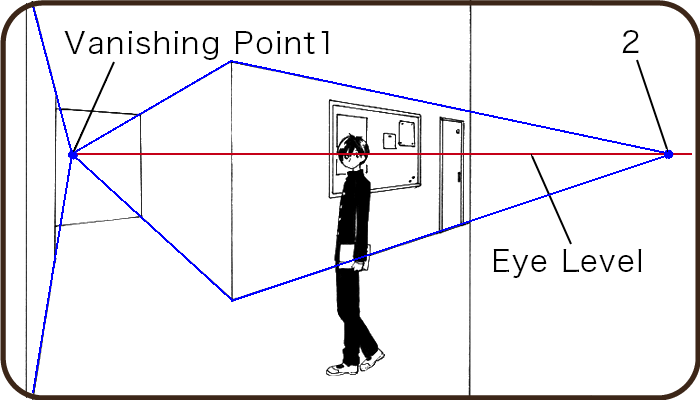
Creating a 3D Effect
This is often used when viewing an illustration from the side diagonally.Because this is similar to scenery we see in everyday life, it is the most commonly used perspective in manga backgrounds.
Setting two vanishing points allows you to create a more substantial 3D effect than that achieved by depth alone.
3. Three-point Perspective
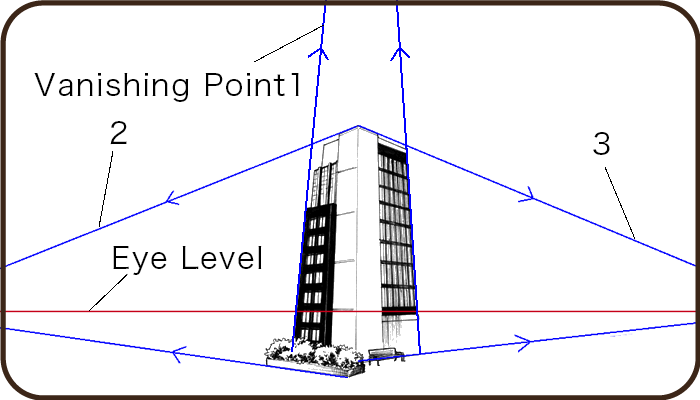
Emphasizing Height
This technique is used in illustrations featuring a bottom-up perspective (from a low angle) or a top-down perspective (bird’s eye view).
This makes the left, right, and either the top or bottom of the illustration look distant.
Because the vanishing points are often quite distant in this situation, using a perspective ruler can help make them easier to draw.